Are you looking for a fun outdoor art project to entertain your kids while getting some fresh air? This bubble painting project is the perfect way to create some art and have fun too!
Personally, I love taking an art project outside. The aftermath is so much simpler to clean up. Any stains can just be left out for the sun to handle; no scrubbing paint off everything in sight. Plus, your kids are getting some fresh air while they create!
Today I’m sharing my outdoor bubble painting project. Often we see bubble painting done inside, but I’m offering an outdoor version that is tons of fun.
Bubble painting is a great example of process art. Process art is a form of art for children and adults alike, where the focus of the art is the process to make it, versus an end piece. It’s the perfect art for for children and values the experience over the end product. It’s a wonderful way to encourage creativity in your children!
If you’re interested in more outdoor process art projects, be sure to check out my post on ice painting, which is an absolute blast and a perfect process art project for children in the summertime!
Keep reading for detailed instructions and a material list for the bubble painting project!
This post contains affiliate links. This means I may receive a small commission at no cost to you if you make a purchase after clicking on a link on this page. Read more here.
Outdoor Bubble Painting
So, without further ado, here are the materials and instructions for bubble painting!

Materials for Bubble Painting
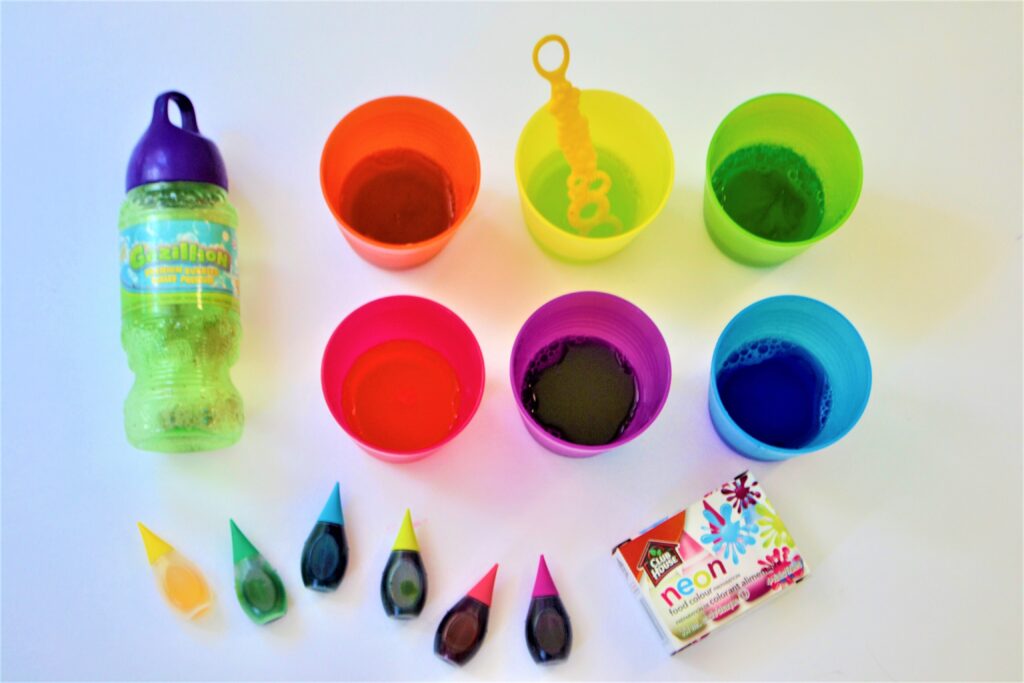
For this bubble painting project, you will need:
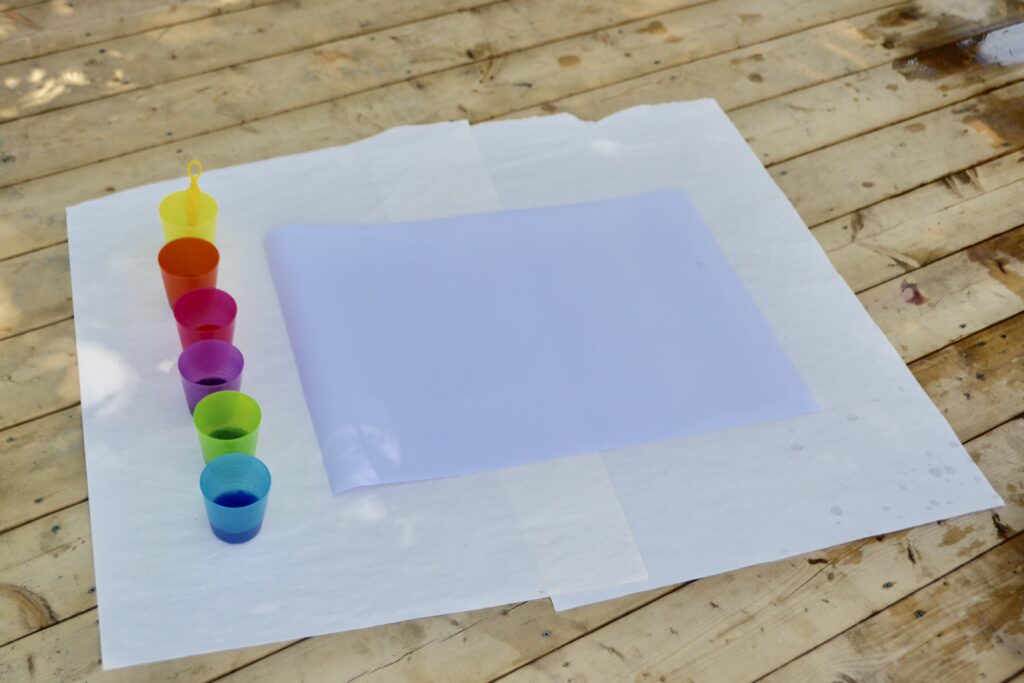
- a large sheet of paper
- bubbles
- liquid water colours or food colouring
- containers
I recommend liquid water colours, which give a much brighter colour and are washable. We have tried this with food colouring. You have to use a lot of food colouring and it is more likely to stain.
Long, skinny containers would be ideal, as you’ll need to use less bubble solution. Ordering a six pack of party bubbles like these is a solution.

Instructions for Bubble Painting
- Pour bubble solution into several different containers (we used six, for six different colours).
- Add liquid water colours or food colouring. You’ll need to use a lot, especially if you’re using food colouring, in order for the colours to show up vibrantly.
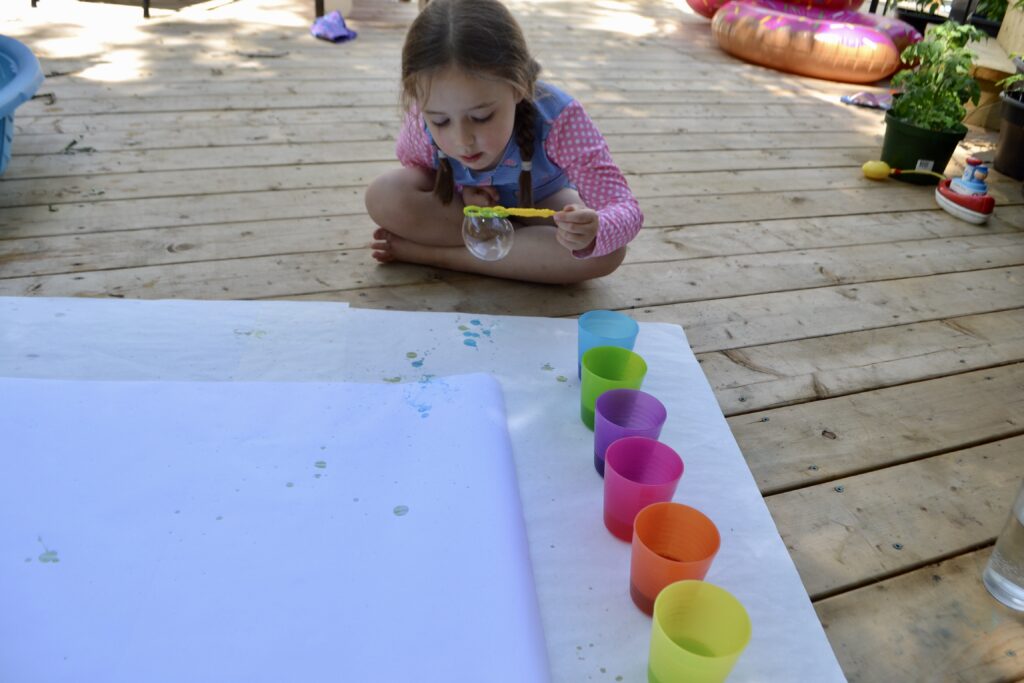
- Spread out your sheet of paper outside and let your child blow bubbles directly onto the paper.
- Let dry and enjoy your beautiful custom-made process art piece!

I hope you enjoy your family enjoys this process art bubble painting project as much as we did!
Like this post? Pin it for later!


